How To... Hair Wrap?
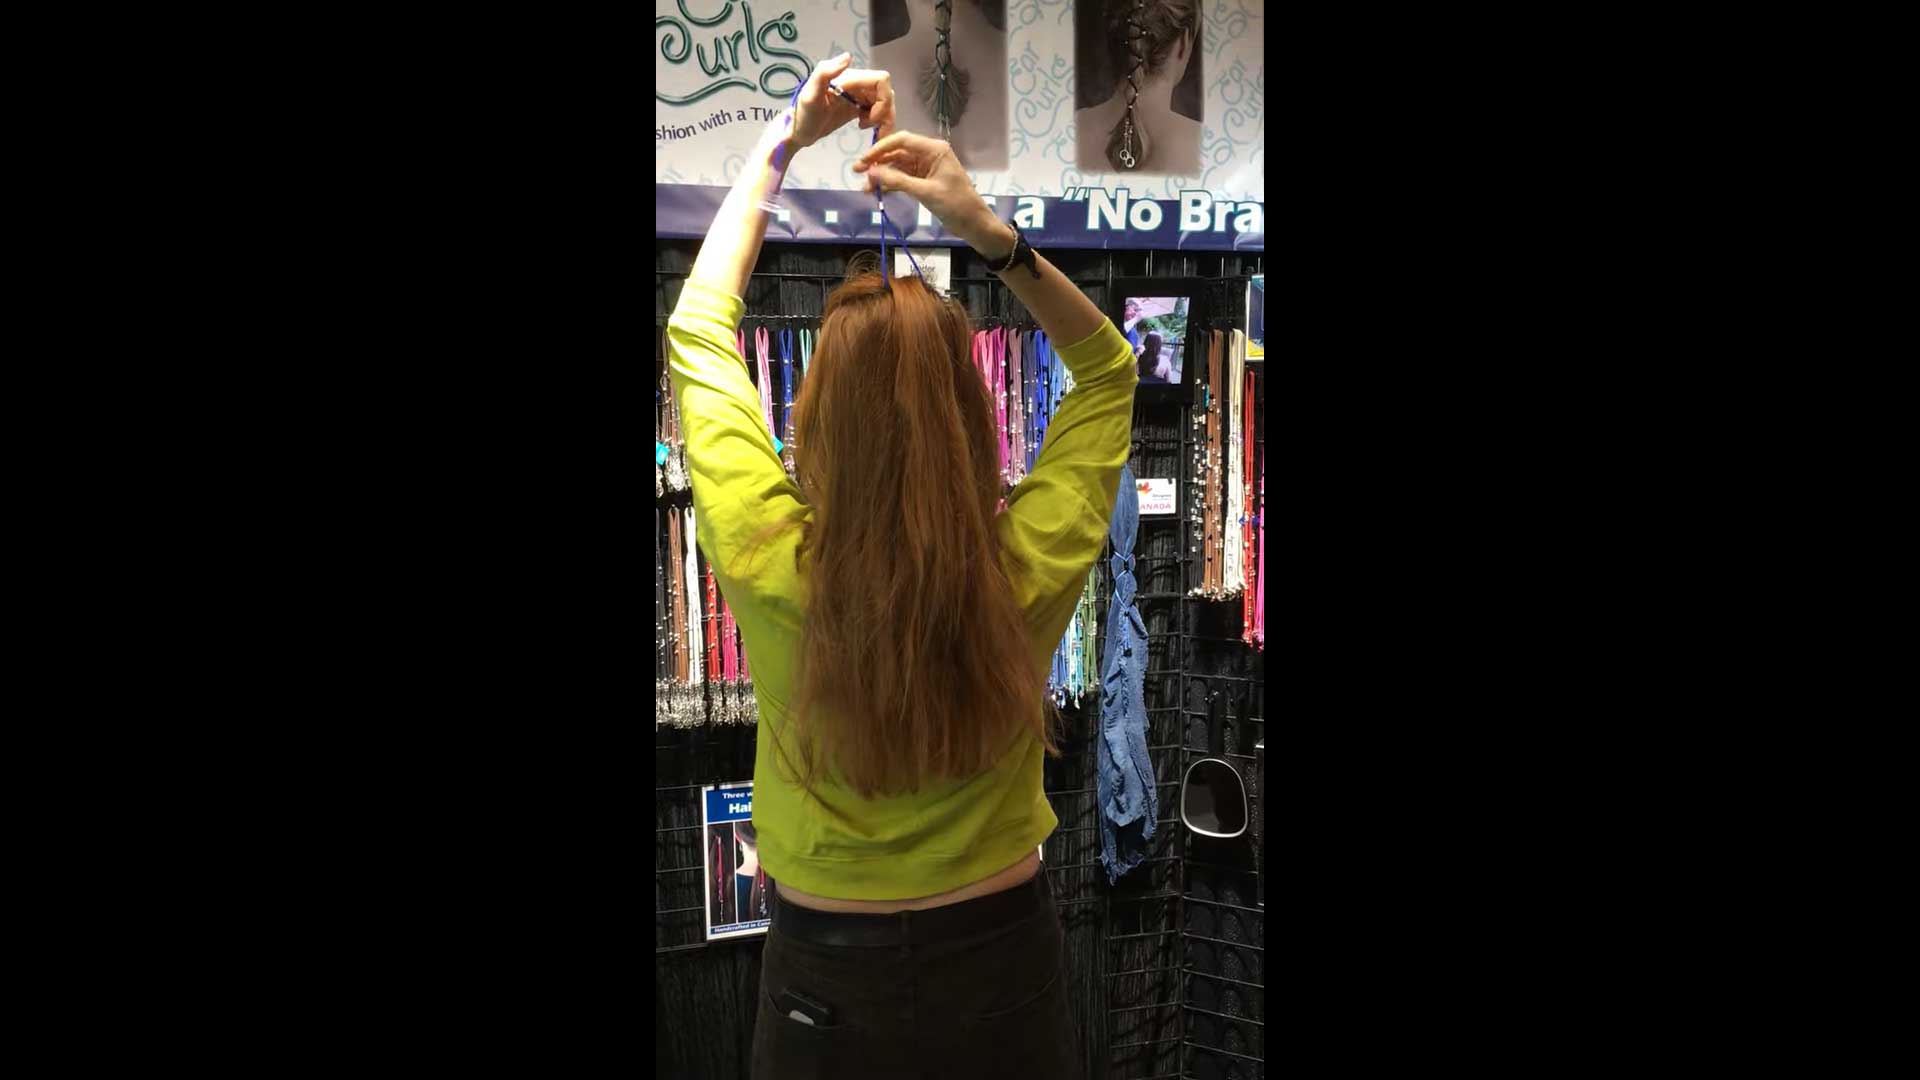
How do they work? Watch this step by step videos.
The short videos below show you some of the fun looks you can achieve with your Hair Wrap. If you have any questions, please don’t hesitate to contact us!
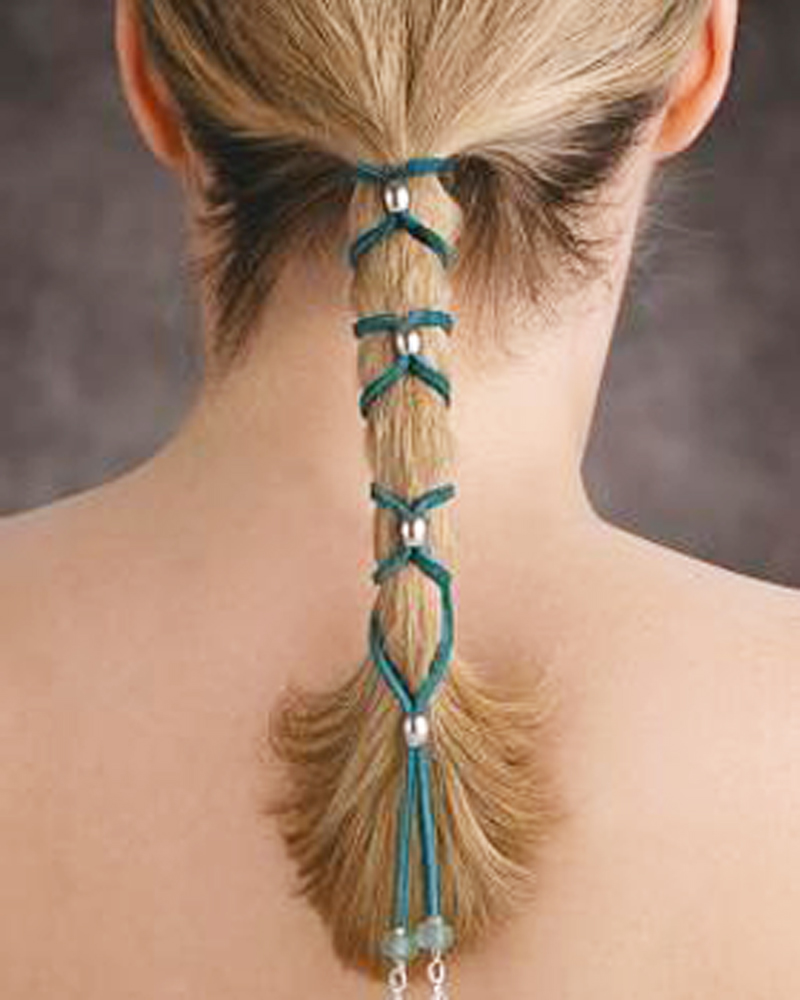
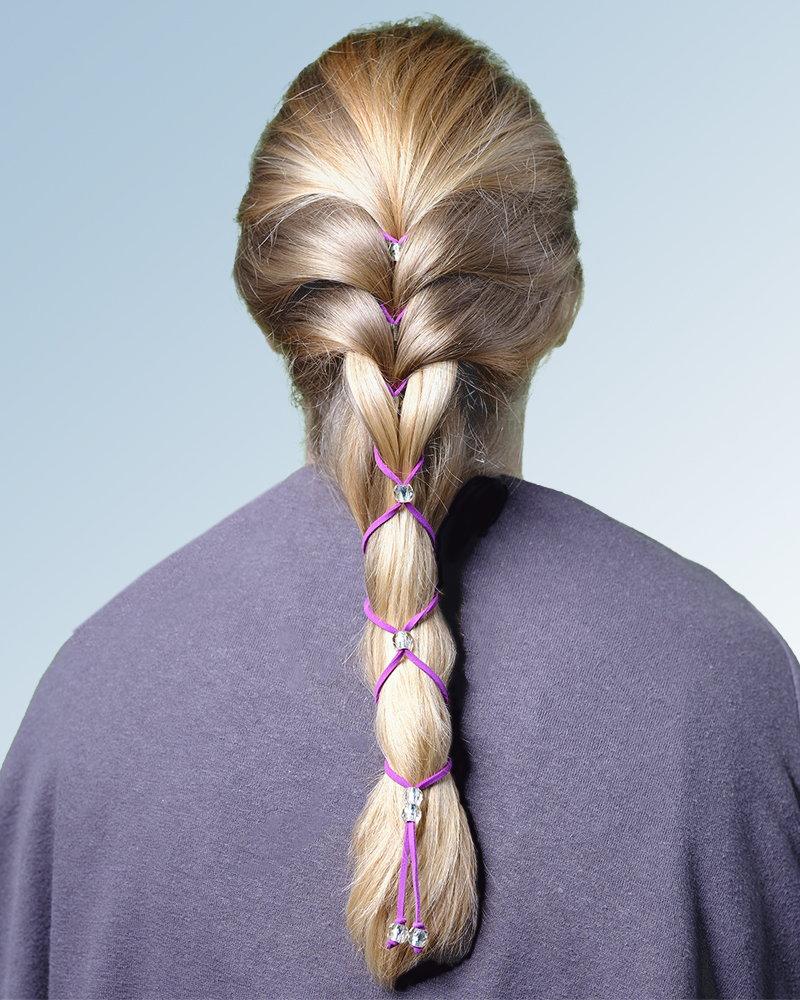
The Basic Wrap is an effortless way of making your ponytail look braided. Click here to see how it works.
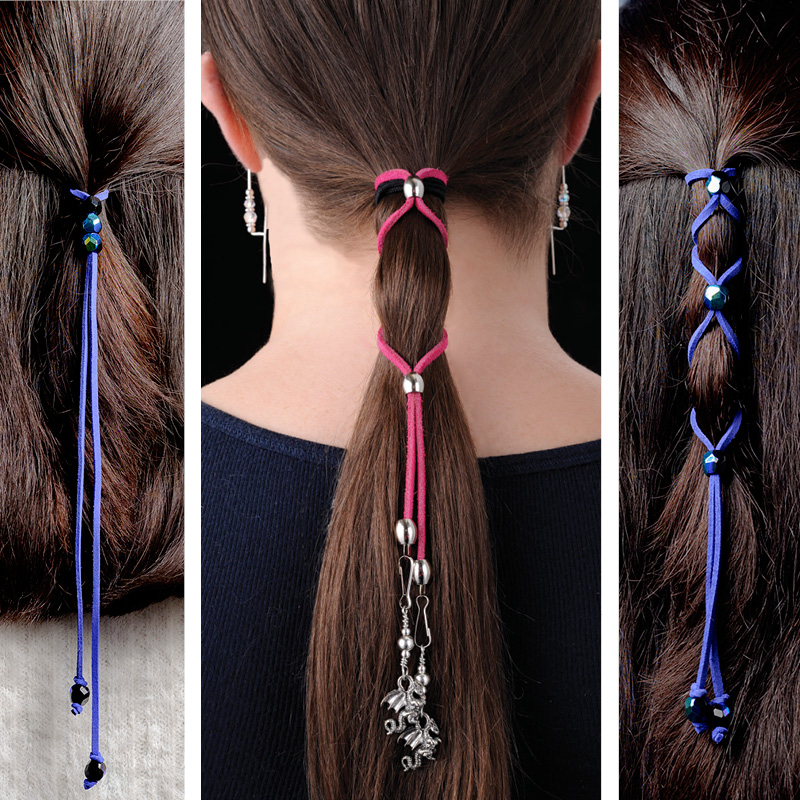
The Tweenie is our entry-level size. You can get a lot of fun styles with the least effort. Click here for a demo.
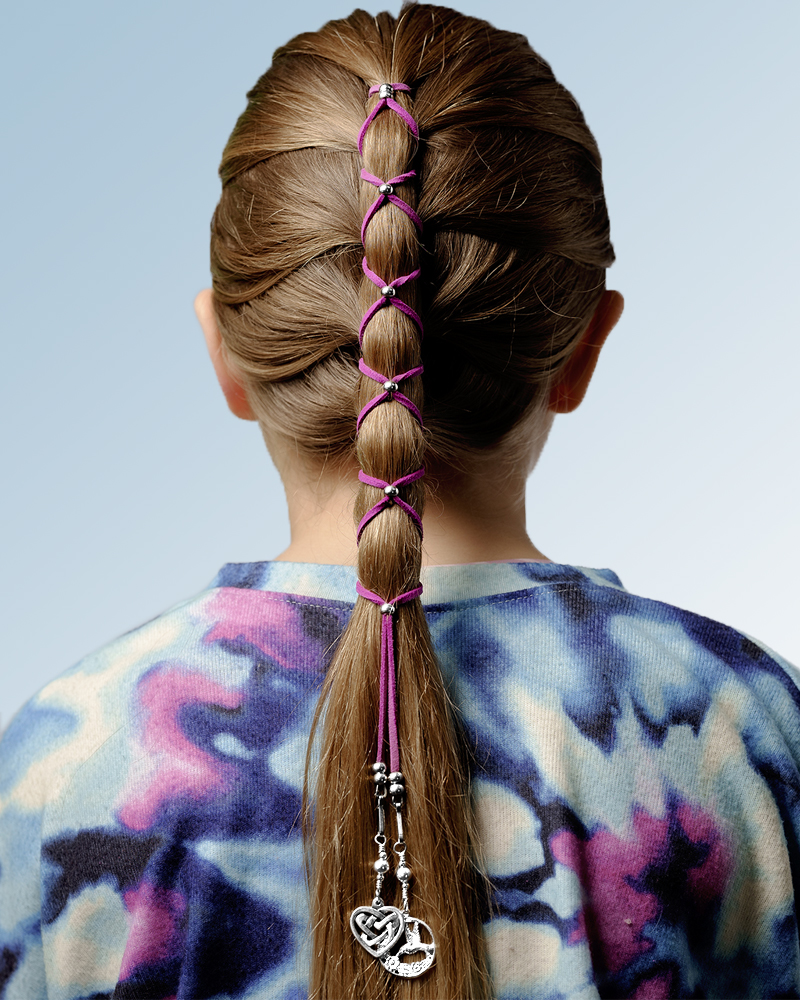
The Simplified French Braid. Here’s a style you may have done before using elastics. This one is kinder to your hair. Click here to see how it works.
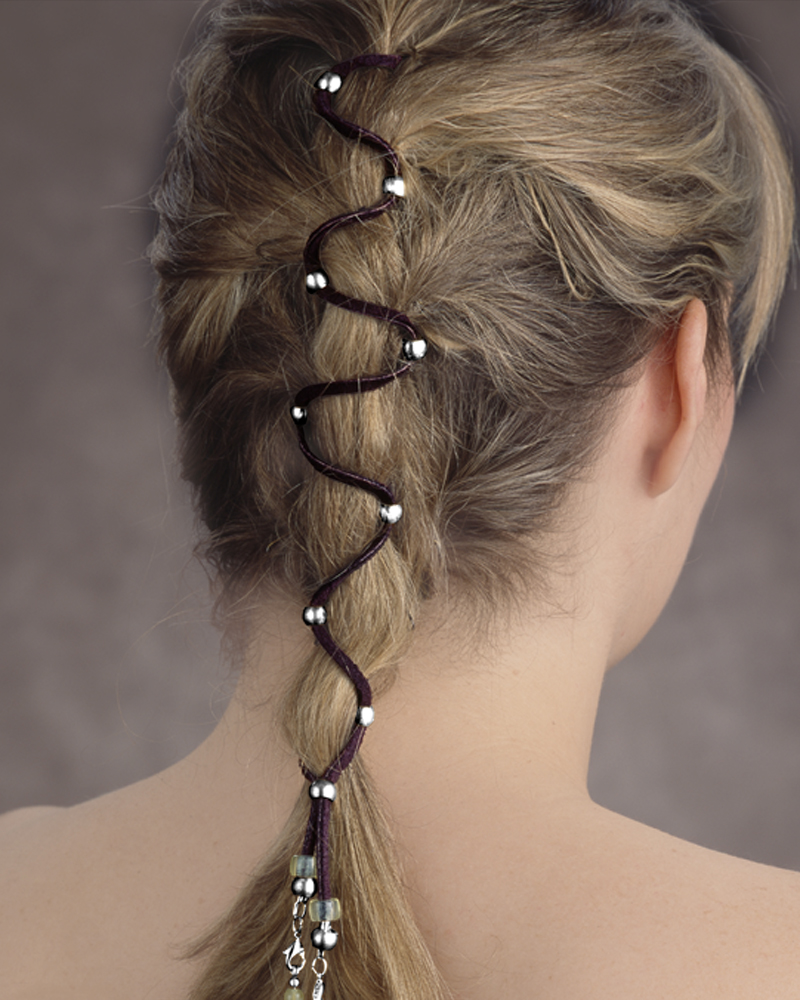
The French Braid. Lacking dexterity? This one is for you! It’s a “no braider”. Click here to see how it’s done.
How do they work?
Start with some, or all, of the hair in a ponytail holder; this gives the Hair Wrap an anchoring point.
Now move the beads away from the looped end of the Hair Wrap, slip the ponytail into that loop and, with the rest of the wrap held above the head, slide your first bead snugly against the hair so it is on top of the ponytail. Put your hair through the next loop, twist the wrap on the underside of the hair (as you would an elastic), put the hair back through the next loop and slide another bead. Continue in this manner until you are done.
Our videos show how to do several different styles, but there is no limit to what you can achieve. Try some of these, but don’t be afraid to do your own thing.
Wrapping Tips:
After using the wrap a few times, you may find a ponytail holder to be unnecessary, especially if your hair has a lot of curl or texture, but for very fine or silky hair (and for active kids), using a ponytail holder will give best results.
If “flyaway” hair is an issue, try lightly spraying the hair with water before you start.
Note that these are made from synthetic leather and are hand-washable.
What size do I need?
To determine the length that is right for you, consider the following:
The “Tweenie” was designed to wrap just a section of hair but may also be used for a minimal look in longer hair. It is an excellent choice for youngsters.
For shoulder-length hair (approximately 4 inches/10 centimetres from the nape) select “Short”.
If your hair comes to your shoulder blades (up to 8 inches/20 centimetres long), choose a “Medium”.
For mid-back length (up to 12 inches/30 centimetres), “Long” will be best for you.
For longer hair (about 16 inches/40 centimetres), choose “Extra Long”. Still not long enough? Try the “XX-Long” or the “XXX-Long” (the one we call “Oh Wow!”).
Having said all that, you may need to go with a longer wrap if your hair is very thick or a shorter wrap if you have thinner hair. Also, the French-Braid look requires a longer wrap than the Basic Wrap.
do it yourself
What if ...?
If, after wrapping, you find the Hair Wrap doesn’t quite fit here are a couple of things to try.
If the wrap is too long, (beads and Hair Wrap left over) shorten up the spacing between wraps. Conversely, if it seems too short, make the wraps further apart.
If the Hair Wrap is longer than you need (which is more likely to happen with finer hair), do one or more wraps without using a bead. If you have too many beads (more likely with thick hair), you can slide two or more beads at a time, to use up the extra. Having the beads too tight results in a stiff-looking braid. The first and last bead should be snug but relax a bit on the beads in between.
An instruction sheet is included with each Hair wrap. Experiment a bit and have fun. We would love to see pictures of the looks you create!
FREQUENTLY ASKED QUESTIONS ABOUT HAIR WRAPS
WHAT ARE HAIR WRAPS?
Hair wraps are a popular hair accessory that has been around for decades. They are typically made of colourful threads or ribbons twisted or braided to create a unique design. Hair wraps can vary in length, width, and thickness, allowing for a personalized touch to any hairstyle. Many people enjoy wearing hair wraps as a way to add a pop of colour to their hair or to keep their strands out of their faces during outdoor activities. Ear Curl hair wraps are a great solution if you want to achieve a trendy braided look without actually braiding your hair. With several weaves to try, you’re bound to find a style that you’ll love. Additionally, our wraps are hand-washable, ensuring they are low-maintenance and durable. Give them a try today and elevate your hair game to the next level!
ARE HAIR WRAPS AVAILABLE IN DIFFERENT SIZES?
Yes, Hair Wraps are available in various sizes to ensure a comfortable fit for your hairstyle length and colour pallet. Please note that the size of the Hair Wrap will depend on the specific design and style. Explore our collection of Hair Wraps to discover the perfect size and colour. You’ll find a wrap that suits your personal style.
IS THERE A DIFFERENCE BETWEEN THE CHARMED WRAP AND JEWELLED WRAP?
Yes! While both styles work the same way, the Charmed wrap and the Jewelled wrap have their own unique style. The Charmed wrap showcases a demure elegance with intricate silver-tone slider beads that glide smoothly over the hair. It also comes with interchangeable charms, allowing the wearer to personalize their hair wrap with any of our sixteen chic charms. On the other hand, the Jewelled wrap adds a touch of elegance with genuine Czech Crystal slider beads available in black or clear. This hair wrap is a beautiful and long-lasting piece that will keep its beauty over time.
WHAT ARE THE MATERIALS USED TO MAKE HAIR WRAPS?
Our hair wraps are crafted from various materials; we use high-quality synthetic leather and sliding beads to securely hold your hair in place, making it easy for you to create various styles. Our hair wraps are available in nine vibrant colours and seven different lengths, giving you plenty of options. For a distinctive touch, our hair wraps showcase carefully selected gemstones like crystals or rhinestones. These exquisite details add a touch of elegance, resulting in a stunning and unique look.
WILL EAR CURL HAIR WRAPS WORK WITH WITH MY HAIR?
Yes, Ear Curl hair wraps are suitable for hair that is long enough to be styled in a ponytail or braid. Ear Curls provides two distinctive hair wrap styles available in seven different lengths, ensuring compatibility with various hair lengths and styles. If you have any concerns about whether the hair wraps will work for you, please don’t hesitate to contact us. We would be happy to assist you.
WHERE CAN I FIND HAIR WRAPS IN CANADA?
Yes! Hair wraps are available at various accessory stores in Canada and online retailers like us! Explore our collection and order one or two Hair Wraps that suit your preferences. Hair Wraps are available in many different designs and styles they are perfect for a wide range of occasions. By shopping at Ear Curls, not only do you get affordable and elegant accessories, but you also support a local independent small business.
DOES EAR CURLS OFFER CUSTOM ORDERS FOR HAIR WRAPS?
Our wraps are available in nine vibrant colours and seven different lengths, providing you with plenty of options. We offer several different weaves to try, so you can find a style you’ll love! However, you can contact us with any questions about colours or designs.
CAN I WASH MY EAR CURL HAIR WRAPS?
Our Ear Curl hair wraps are crafted from synthetic leather, which makes them hand-washable. For optimal results, we recommend using a mild detergent and lukewarm water and then air-drying them. Kindly refrain from using a machine washer or dryer to clean them. If you have any additional inquiries regarding the best practices for washing your hair wrap, please contact us. We are more than happy to assist you.
IS THERE A RETURN POLICY IF MY HAIR WRAPS DO NOT FIT ME?
Yes, at Ear Curls, we completely understand that determining the size before purchasing a hair wrap can be challenging. That’s why we offer a no-hassle return policy. If the size of the Hair Wrap isn’t quite right for you, don’t worry! Simply contact us, and we’ll gladly arrange a return and exchange for a different size or style of Hair Wrap for your next order.
Please remember that returns must be made within 30 days of purchase to qualify for a full refund or store credit for your next order. We’re here to make sure you find the perfect fit!
IF MY ORDER ARRIVES DAMAGED, WHAT DO I DO NEXT?
If your hair wrap arrives damaged, we sincerely apologize for any inconvenience caused. We make every effort to ensure safe transit by using carefully designed packaging with padding to protect items. Please contact us immediately, and we will promptly arrange a replacement.

